How to Inspect Electric Bicycle Cables and Wires
Inspecting the cables and wires of your electric bicycle is essential for guaranteeing both safety and optimal performance.
This guide encompasses everything you need, from the vital tools necessary for a comprehensive inspection to a detailed, step-by-step process that includes visual checks and continuity testing.
You ll also discover common issues you might encounter, along with maintenance and replacement tips to ensure that your electric bike stays reliable and efficient for every ride.
Elevate your cycling experience today!
Contents
- Key Takeaways:
- Tools Needed for Inspection
- Step-by-Step Guide to Inspecting Cables and Wires
- Common Issues with Electric Bicycle Cables and Wires
- Maintenance and Replacement of Cables and Wires
- Frequently Asked Questions
- 1. How do I inspect the cables and wires on my electric bicycle?
- 2. What are some common issues to look for when inspecting electric bicycle cables and wires?
- 3. How often should I inspect my electric bicycle’s cables and wires?
- 4. Can I replace damaged cables and wires on my electric bicycle myself?
- 5. What tools do I need to inspect my electric bicycle’s cables and wires?
- 6. How can I prevent damage to my electric bicycle’s cables and wires?
Key Takeaways:
- Regular inspections keep your e-bike safe and performing at its best!
- Essential tools like a multimeter, cable cutter, and inspection tools are vital for accurate assessments.
- Timely maintenance and replacement of cables prevent wear and tear, ensuring your bike lasts longer.
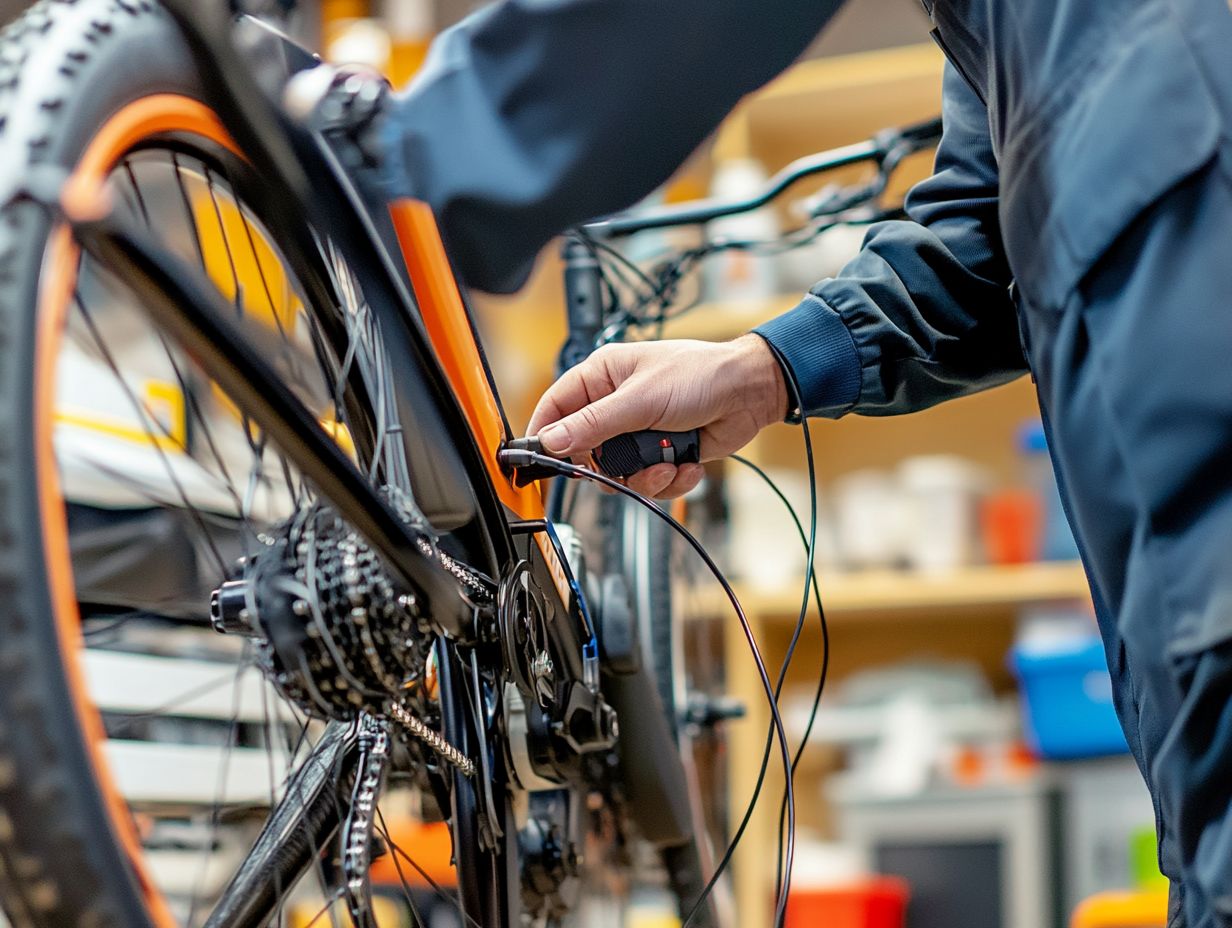
Importance of Proper Inspection
Properly inspecting your e-bike is essential for ensuring optimal performance and safety. Regular checks help identify common issues like controller malfunctions, battery charging problems, or throttle failures.
This proactive approach significantly reduces the risk of breakdowns during your rides. Understanding how to perform routine care and repairs will enhance the longevity of your electric bike, keeping it in prime condition for years to come.
Incorporating a routine e-bike maintenance checklist into your schedule offers a structured method for addressing potential problems before they escalate. Neglecting vital components like tires, brakes, and the electrical system can lead to unsafe riding conditions.
Regular inspections not only maximize your bike’s performance but also boost your confidence as a rider, knowing your e-bike is in top shape. By being proactive about care, you can troubleshoot issues early, avoid costly repairs, and extend the overall lifespan of your investment.
Tools Needed for Inspection
To effectively inspect your e-bike, possessing the right tools is crucial for diagnosing potential issues and ensuring optimal care.
Essential tools include:
- Voltmeter for checking battery readings,
- Multimeter for conducting electrical diagnostics, and
- basic tools for making mechanical adjustments.
Using these instruments empowers you to accurately troubleshoot problems, whether it’s faulty wiring or a malfunctioning controller in your electric bike.
Essential Tools for Accurate Assessment
For an accurate assessment of your e-bike, several essential tools are critical. A voltmeter is crucial for checking battery voltage, while a multimeter helps with electrical diagnosis especially for throttle assist or pedal assist system issues.
These tools ensure that every component, from the battery to the controller, is operating at its best. A torque wrench is vital for tightening bolts to the manufacturer’s specifications, effectively preventing potential mechanical failures.
A tire pressure gauge is also critical for maintaining optimal tire performance, which directly impacts safety and efficiency. A chain checker helps monitor wear and elongation, allowing you to avoid drivetrain issues.
Together, these tools not only assist in diagnosing problems but also play a significant role in routine maintenance, ensuring the longevity and reliability of your e-bike.
Step-by-Step Guide to Inspecting Cables and Wires
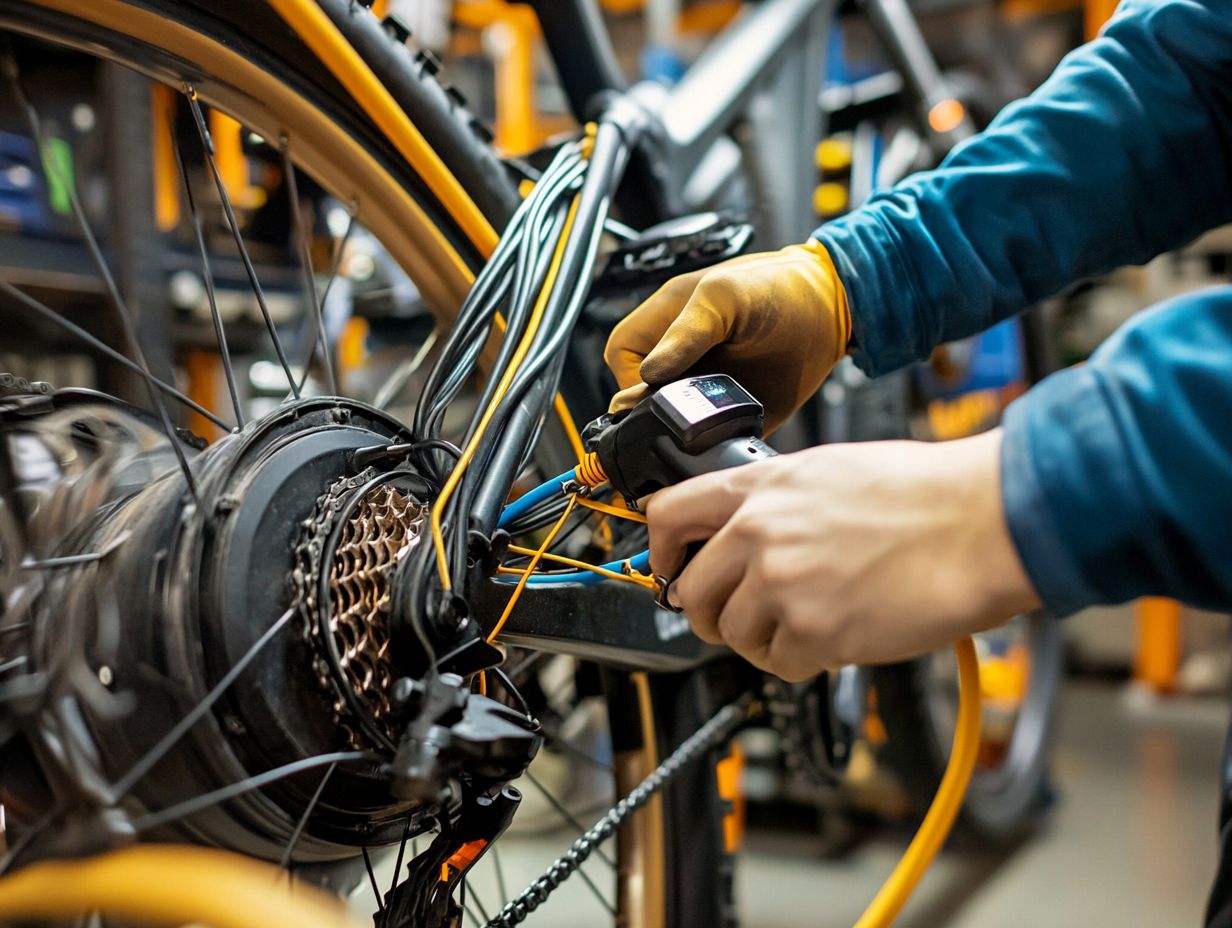
Inspecting the cables and wires of your e-bike is essential for troubleshooting and maintenance. Faulty wiring can lead to serious malfunctions, like controller failure or a battery that won t charge.
A clear guide simplifies this inspection process. You ll learn to check for wear and tear, conduct visual inspections, and test for electric flow.
By mastering these assessments, you can tackle common issues early. This keeps your e-bike in peak condition and ready for the road!
Visual Inspection
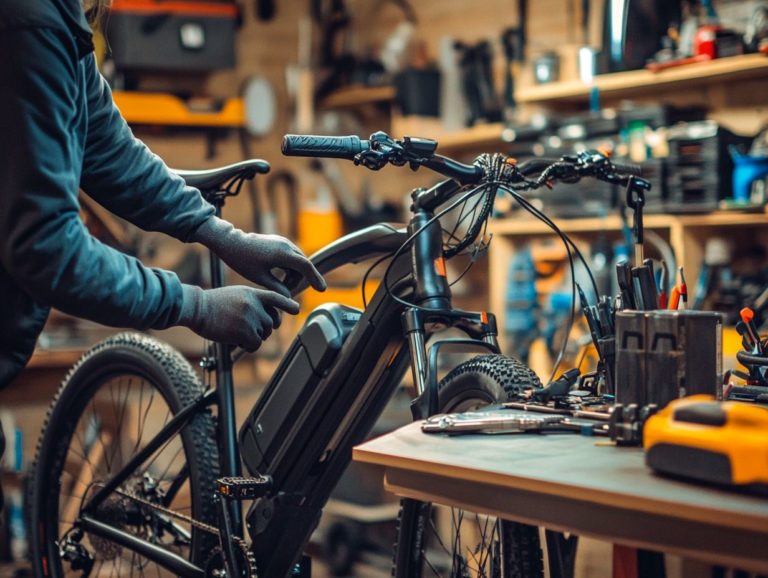
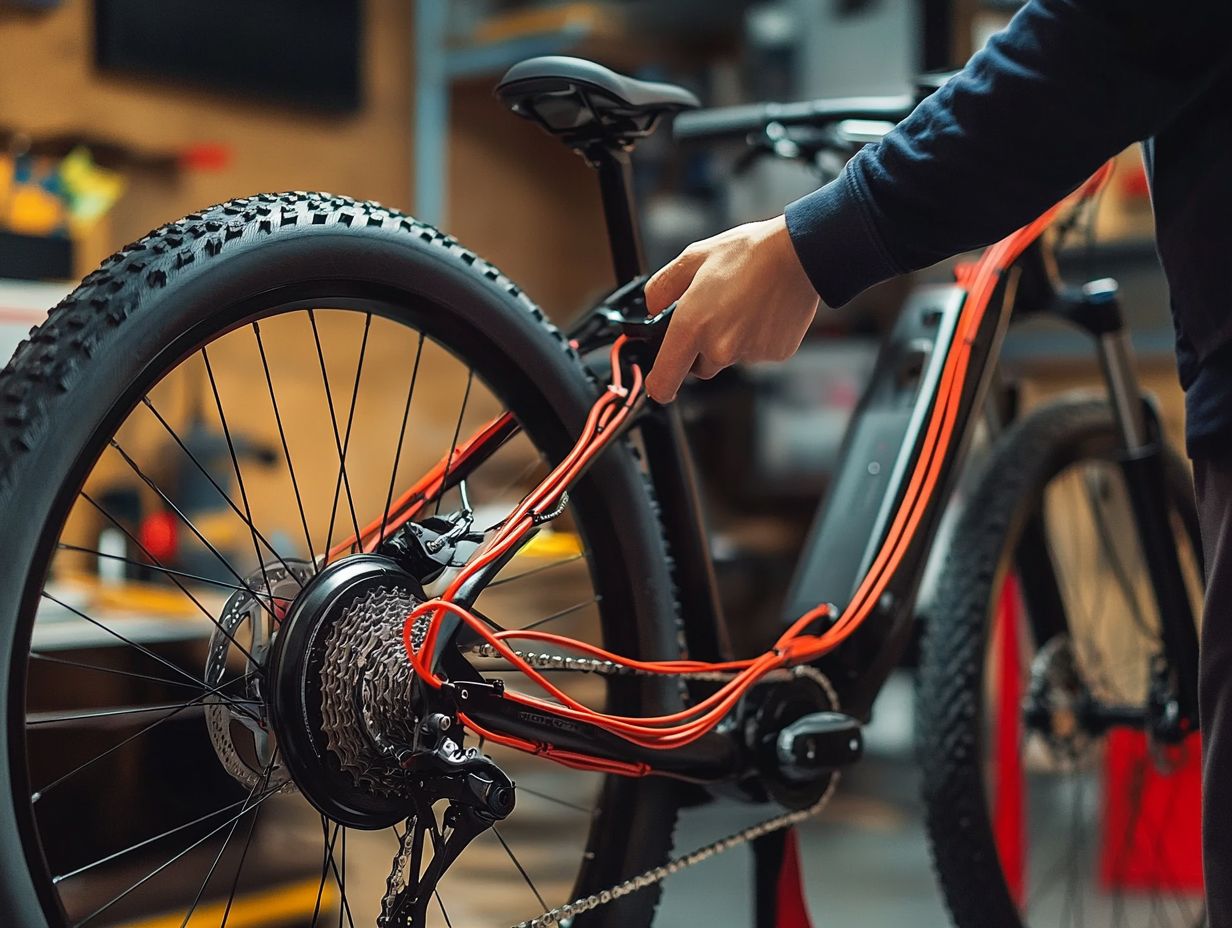
A thorough visual inspection of your e-bike’s cables and wires is crucial. Look for visible signs of damage, wear, or corrosion that could lead to performance issues, like a malfunctioning throttle.
Start by checking the insulation of the wires. Look for fraying or exposed sections that signal potential electrical hazards.
Also, check for kinks or bends in the cables that might restrict flexibility. Pay close attention to the connectors and terminals; keep them free from rust or dirt!
Watch for signs of overheating, like discoloration or melted plastic. These indicate the wires may carry too much current.
Inspect the routing of the cables to ensure proper positioning. Improper placement can lead to abrasion over time!
Regular checks can extend your e-bike’s life and ensure all components operate at their best.
Testing for Electric Flow
Testing electric flow is vital for diagnosing potential issues in your e-bike’s wiring. This step uncovers hidden problems that could impact performance.
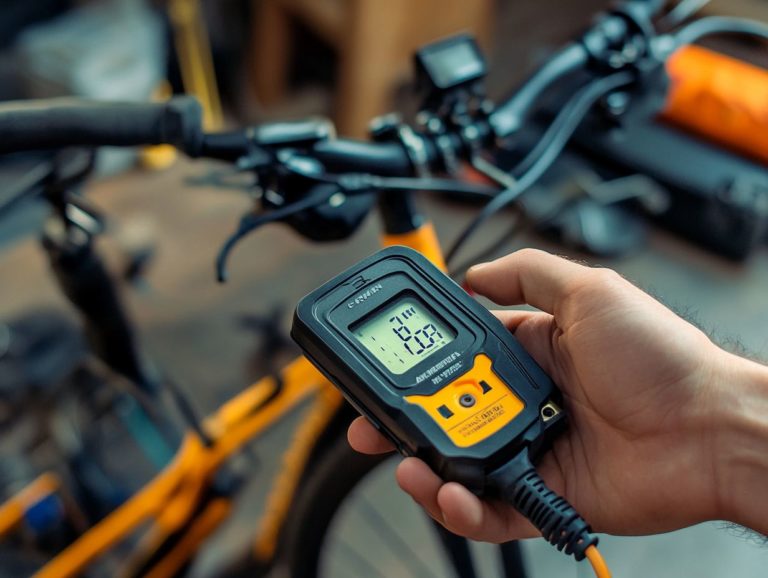
To test, use a multimeter, which measures electrical flow. This ensures systems like throttle assist and pedal assist function correctly.
Start by turning off the e-bike and disconnecting the battery for safety. Set your multimeter to continuity mode look for a soundwave or diode symbol.
Connect one probe to one end of the wire or component and the other to the opposite end. If the multimeter beeps or shows a low resistance reading, continuity is established.
If there s no sound or you see an infinite reading, there s a break that needs attention. This straightforward process promotes safe riding and extends the longevity of your e-bike’s electrical systems!
Checking for Wear and Tear
Regularly checking for wear and tear on your e-bike’s cables is crucial. This prevents electrical failures or malfunctions, like charging issues.
Identify frayed cables or damaged connectors early. Tackling these problems quickly can save you from bigger maintenance headaches!
To inspect, examine all exposed wiring for signs of fraying or wear. Any exposed metal or cut insulation should raise immediate concerns!
Gently tug on the cable sheaths to check for slippage or looseness, as these could indicate internal damage. Inspect connectors for corrosion, dirt, or bent pins to avoid connectivity issues.
Using a multimeter can enhance your inspection. It allows you to test for electric flow and ensure signals are flowing correctly.
Regular maintenance checks will not only prolong your e-bike’s life but also boost its overall performance!
Common Issues with Electric Bicycle Cables and Wires
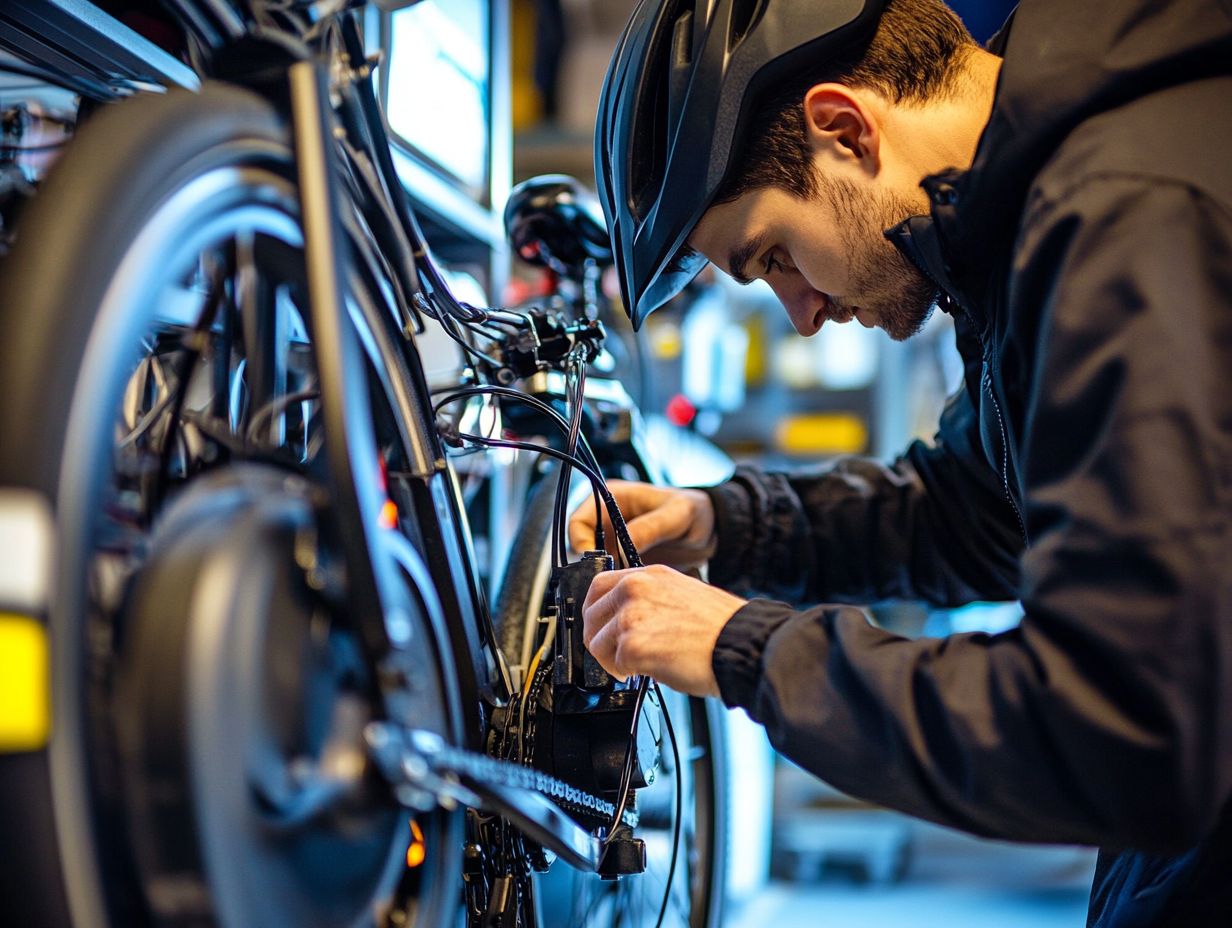
Understanding the common issues associated with e-bike cables and wires equips you with the knowledge to troubleshoot effectively. This ensures that your electric bike operates at peak performance.
Frequent problems may include faulty wiring that can lead to controller malfunctions, batteries that refuse to charge, or throttle assist failures. Familiarizing yourself with these challenges allows you to take proactive steps to maintain your e-bike and enjoy a seamless riding experience.
Identifying and Addressing Common Problems
Identifying and addressing common issues with your e-bike’s cables and wiring can prevent breakdowns and enhance overall performance. Pay close attention to key issues such as damaged cables, faulty connections, and inadequate insulation.
Each of these issues can lead to serious electrical failures or a malfunctioning battery. Inspect the connectors regularly for signs of corrosion or wear. These can disrupt power flow.
It’s also crucial to check the insulation for any cracks or frays. Exposed wires present serious safety risks. Consider using a voltage tester to check connections and voltage levels, ensuring that everything is functioning smoothly.
If you discover any anomalies, replacing components or re-soldering connections can restore functionality. For a detailed approach, check out how to perform electric bicycle wire inspections. By keeping a vigilant eye on these elements, you’ll not only prolong the lifespan of your e-bike but also enjoy peace of mind during your rides.
Maintenance and Replacement of Cables and Wires
Regular maintenance and timely replacement of cables and wires are crucial for maintaining the longevity and functionality of your e-bike. Wear and tear can significantly impact performance, so establish a maintenance routine that includes thorough inspections and necessary replacements.
This routine helps you avoid costly repairs and keeps your e-bike in top shape!
Proper Care and Replacement Schedule
Implementing a proper care routine and replacement schedule for your e-bike’s wiring and cables is essential. Regularly checking the condition of your cables and following a maintenance checklist allows you to identify when components need replacement before they escalate into significant issues.
This proactive approach enhances your ride safety and prolongs the lifespan of your e-bike. Key elements of a proper care routine include:
- Inspecting the integrity of cables for frays and corrosion
- Ensuring all connections are tight
- Cleaning away any debris that may affect performance
A well-planned replacement schedule for cables and wiring ideally every 1,000 miles or annually ensures timely upgrades, especially after wet or harsh riding conditions. Recognizing signs of wear, like cracks or kinks, gives the power to you to take action sooner, paving the way for smoother rides ahead.
Frequently Asked Questions
1. How do I inspect the cables and wires on my electric bicycle?
Start by looking for fraying, kinks, or any exposed wires. Then, check that all connections are tight and clean. Finally, use a voltage tester to ensure everything is working properly.
2. What are some common issues to look for when inspecting electric bicycle cables and wires?
Common problems with electric bicycle cables and wires include corrosion, loose connections, and worn insulation. These issues can lead to malfunctioning of the electric system, so it’s important to regularly inspect and maintain your cables and wires.
3. How often should I inspect my electric bicycle’s cables and wires?
Make it a habit to inspect your cables monthly for the best performance! If you ride frequently, check them even more often to catch any issues early.
4. Can I replace damaged cables and wires on my electric bicycle myself?
It’s usually best to have a pro bike mechanic handle damaged cables and wires. They have the right tools and know-how to do it safely. If you’re experienced and confident with electrical parts, you can give it a try yourself.
5. What tools do I need to inspect my electric bicycle’s cables and wires?
For a proper inspection, gather a flashlight, a voltage tester, and a set of wrenches or pliers. Having electrical tape and zip ties handy can also help for minor repairs.
6. How can I prevent damage to my electric bicycle’s cables and wires?
Store and transport your bike properly to prevent damage. Avoid riding in wet or muddy conditions, as they can cause corrosion. Regular maintenance and inspections help catch issues early and keep your bike in top shape!

